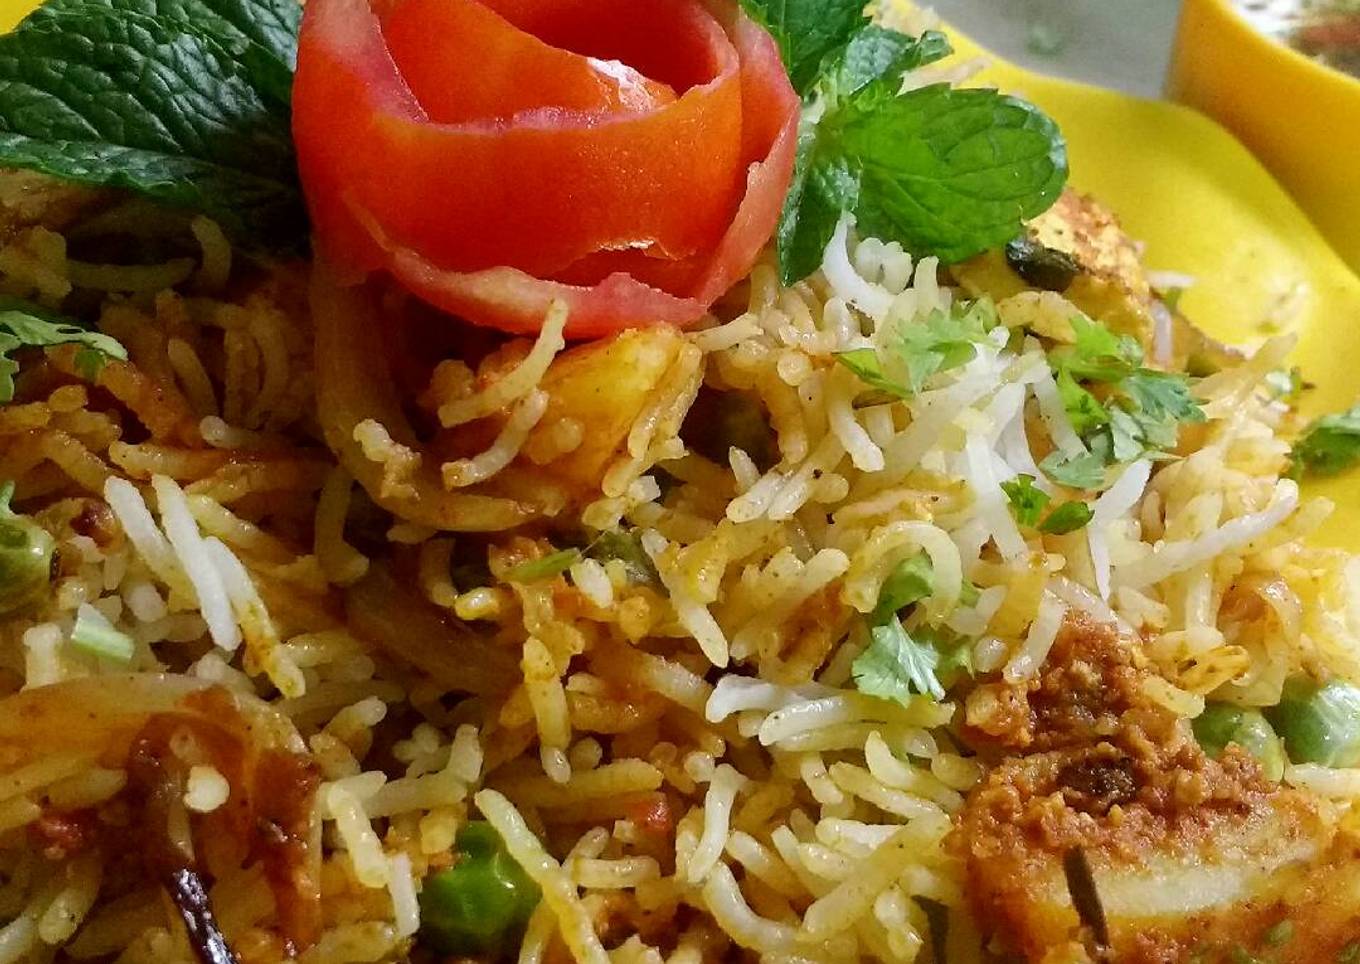
Hyderabadi Veg Biryani
Hello everybody, it is me again, Dan, welcome to our recipe site. Today, we're going to prepare a special dish, Hyderabadi Veg Biryani. One of my favorites. For mine, I will make it a little bit unique. This will be really delicious.
Hyderabadi Veg Biryani is one of the most well liked of recent trending meals on earth. It's simple, it is fast, it tastes yummy. It is enjoyed by millions every day. Hyderabadi Veg Biryani is something which I've loved my entire life. They are fine and they look fantastic.
Many things affect the quality of taste from Hyderabadi Veg Biryani, starting from the type of ingredients, then the selection of fresh ingredients, the ability to cut dishes to how to make and serve them. Don't worry if you want to prepare Hyderabadi Veg Biryani delicious at home, because if you already know the trick then this dish can be used as an extraordinary special treat.
To get started with this recipe, we must first prepare a few components. You can cook Hyderabadi Veg Biryani using 18 ingredients and 11 steps. Here is how you cook it.
#anniversary post 35
Ingredients and spices that need to be Make ready to make Hyderabadi Veg Biryani:
- 2 cups Basmati rice -
- 1/2 cup Thick curd/ dahi -
- 1/2 cup Cream/ malai -
- 1 cup Tomato/ tamatar puree -
- 150 gms Paneer -
- 1/2 teaspoon Kashmiri red chilli/ khadi lal mirch powder -
- 1 teaspoon Red chilli/ lal mirch powder -
- 1 teaspoon Turmeric haldi -
- 2 cups Chopped onions/ pyaz -
- 1/2 cup Chopped potatoes/ aloo -
- 1 tablespoon Chopped ginger/ adarak, garlic and green chilli
- Chopped coriander/ dhaniya and mint/ pudina leaves - as required
- 2 tablespoons Biryani masala -
- to taste Salt/ namak
- 6 tablespoons Oil/ tel -
- 1/2 cup Milk/ doodh -
- 1 pinch Kesar/ saffron -
- 1/2 cup Green peas/ matar -
Steps to make to make Hyderabadi Veg Biryani
- Wash rice and soak them for 1 hour in sufficient water
- Cut paneer in cubes and marinate paneer with tomato puree, cream, curd, kashmiri chilli, turmeric and red chilli powder for 1 hour.
- Cook rice (almost 75%) with green peas and water.
- Add milk and kesar in a bowl
- Heat 3 tablespoons of oil in a pan and fry potatoes. When potatoes are half cooked, add paneer mixture and biryani masala and cook for 8-10 minutes on medium flame. Add salt too.
- Heat 3 tablespoons of oil in a cooker and add half of the onions. Saute until onions become brown in color
- Take out brown onions from cooker and add remaining onions and chopped ginger, garlic and green chillies. Saute 4-5 minutes on medium flame. Reduce the flame to low.
- Now spread 4 tablespoons of paneer and potato mixture and make a layer.
- Spread 6 tablespoons rice and sprinkle brown onions, coriander and mint leaves. Repeat this process 2 times and when last layer gets finished, sprinkle kesar milk.
- Cover the cooker and cook biryani 7-8 minutes on low flame.
- Delicious and spicy 'Hyderabadi Veg Biryani' is ready to get served with raita!
As your experience as well as self-confidence expands, you will discover that you have much more all-natural control over your diet plan and also adjust your diet regimen to your personal tastes in time. Whether you want to offer a dish that uses fewer or even more components or is a bit more or less zesty, you can make basic adjustments to achieve this goal. Simply put, start making your dishes on time. When it comes to fundamental cooking abilities for beginners you don't require to learn them but only if you understand some straightforward cooking strategies.
This isn't a complete overview to fast and easy lunch dishes however its excellent something to chew on. Ideally this will certainly get your innovative juices moving so you can prepare tasty meals for your family members without doing a lot of heavy meals on your trip.
So that is going to wrap this up with this special food How to Make Homemade Hyderabadi Veg Biryani. Thank you very much for your time. I'm sure that you will make this at home. There's gonna be more interesting food in home recipes coming up. Don't forget to bookmark this page on your browser, and share it to your family, friends and colleague. Thanks again for reading. Go on get cooking!


Comments
Post a Comment